
My sweet Dad came over and helped me with the beadboard and moulding. I honestly don't know what I would do without him! He knows so much and I know so little. There were so many things that he thought of that I did not.
First thing, though, was that we had to cut the panels down 4 inches because I forgot to factor in the moulding when I was thinking about how high I wanted the beadboard to go. oops! Thanks, Lowes, for the free cuts, but I needed them at 38" and not 42". Oh well … I learned many things along the way :)
Like … the need for a paneling blade on your circular saw. Here is my Dad switching out his old paneling blade for a new one. Funny … I asked him if he wanted me to buy one for my Skil saw and he said no, that he would get one for his. Any excuse to buy new tools …

Mmmm … I do love the smell of sawdust …

My makeshift workbench …

And my Dad's ancient Black and Decker circular saw. But it was made back in the day when Black and Decker actually made decent tools, so it still works well.

Beadboard waiting to be cut …

Oh, and I ♥ this … marking the wood with my Hello Kitty pencil … this just makes me :)


It's time to put the beadboard on the walls … with some help from construction adhesive!

A sneak peek at our awesome sink from the Habitat for Humanity Re-Store in Atlanta …

Alrighty … holes are drilled for the plumbing … it's time to get this done!

Stuff …

My Dad tapping in some finishing nails that didn't quite sink all the way in with my, ahem, pink hammer :)

And here is me with my favorite new power tool (apologies to my trusty drill) … my finishing nailer! ♥

And testing the outside cut off spigot to make sure we can access it …

My cool Dad getting the beadboard ready …

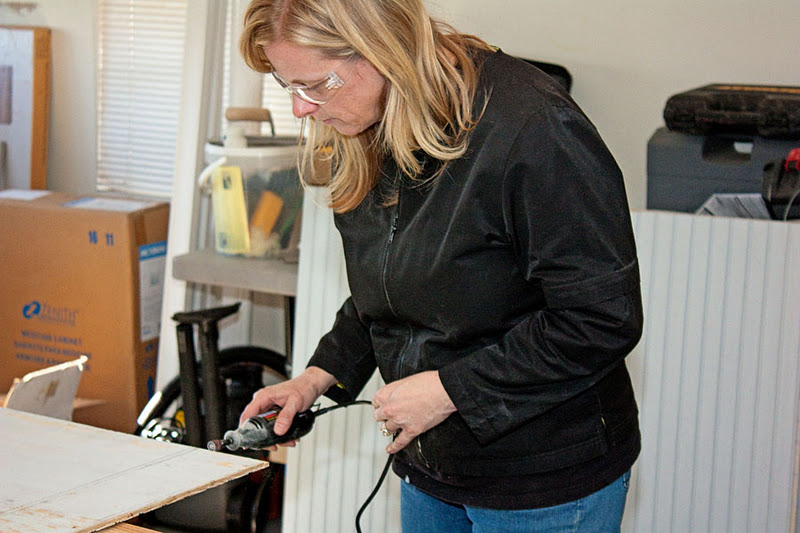
He's taking his Dremel tool and sanding away all the rough edges on the overlaps and underlaps …

I thought I might try it … I need one of these!
Awesome … the beadboard is up!!

The holes we drilled are perfect (of course … if you know me and my Dad, you would never doubt that!)

And on to the moulding … oh, how I ♥ this moulding! It was expensive, but very worth it!


And now the room is ready for a new floor!

Looking great, Heather!!! I can't wait to see the finished product. And I'm sooo jealous of your Dad... :)
ReplyDeleteElise